Control panels are a popular choice for managing virtual private servers (VPS) with Linux-based operating systems, eliminating the need for extensive Linux knowledge to set up and configure web hosting servers.
What is CloudPanel?
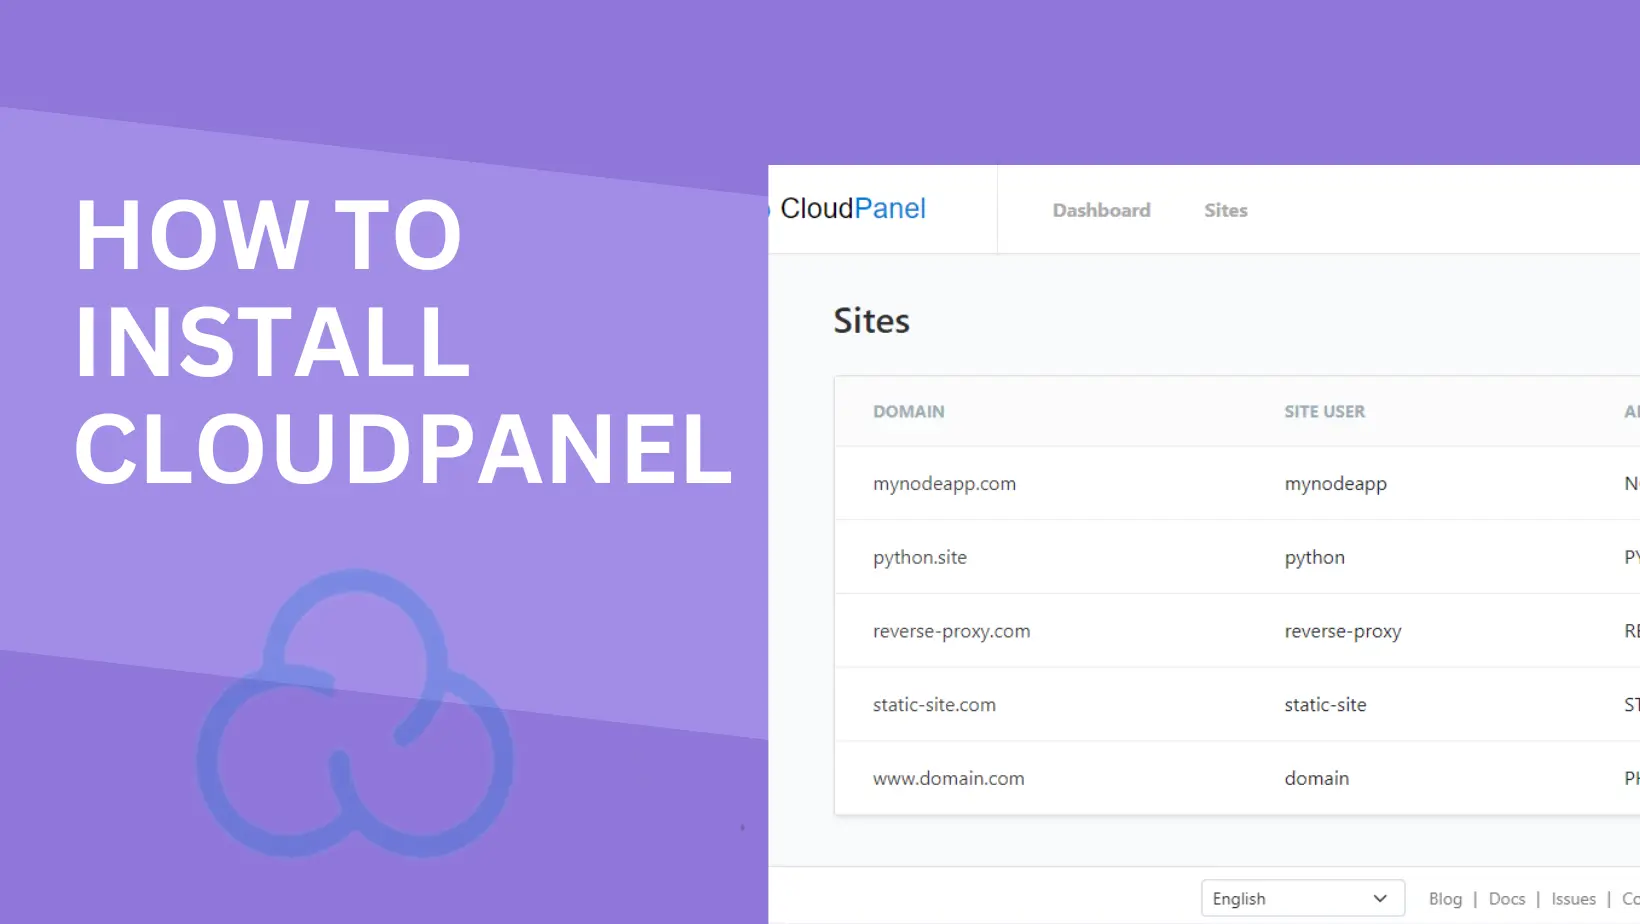
CloudPanel is a web-based graphical user interface control panel designed to simplify the management and control of VPS resources efficiently. It streamlines the environment creation for hosting various types of websites, including those built in WordPress, PHP, static HTML pages, Node.js, or Python.
Key Features of CloudPanel:

- Simplicity: CloudPanel simplifies server management tasks, making them accessible to users of all skill levels.
- Performance Optimization: It optimizes server resources to ensure superior website performance and faster load times.
- Security Enhancements: CloudPanel fortifies websites against potential threats with built-in firewall management, SSL certificate integration, and automated backups.
- Scalability: It effortlessly scales to accommodate growing hosting needs, supporting multiple PHP versions and database management tools.
- Resource Monitoring: CloudPanel provides comprehensive resource monitoring tools for proactive management of CPU usage, memory consumption, and disk space utilization.
Minimum Requirements for Installing CloudPanel:
- Operating System: Ubuntu 22.04 or Debian 11 – fresh install
- CPU Cores: At least 1
- RAM Memory: 2GB Minimum
- Storage: At least 10GB
Installing CloudPanel:
To install CloudPanel on a freshly installed VPS with Ubuntu 22.04 or Debian 11, follow these steps:
1. Connect to the Server: Use SSH to connect to the server:
ssh username@ServerIpAddress
2. Update and Upgrade: Update and upgrade the operating system:
sudo apt update && sudo apt -y upgrade
3. Install Required Packages: Install curl and wget:
sudo apt -y install curl wget
4. Choose Database Engine and Install CloudPanel: Select the desired database engine (MySQL 8.0, MariaDB 10.11, or MariaDB 10.6) and run the installation command:
MySQL 8.0:
curl -sS https://installer.cloudpanel.io/ce/v2/install.sh -o install.sh; \
sudo bash install.sh
MariaDB 10.6:
curl -sS https://installer.cloudpanel.io/ce/v2/install.sh -o install.sh; \
sudo DB_ENGINE=MARIADB_10.6 bash install.sh
MariaDB 10.11:
curl -sS https://installer.cloudpanel.io/ce/v2/install.sh -o install.sh; \
sudo DB_ENGINE=MARIADB_10.11 bash install.sh
5. Access the Web Panel: Copy the address returned by the installer, typically in the format: https://ServerIPAddress:8443, and open it in a web browser.
6. Create the Administrator Account: Complete the form to create the administrator account, and then log in with the chosen credentials.
Adding a WordPress Website to CloudPanel:
1. Create a Website: Navigate to the “Sites > Add Site” section in CloudPanel and create the hosting environment for your WordPress site.

2. Automatically Install WordPress: CloudPanel can automatically install WordPress for your project.

Conclusion:
CloudPanel is a user-friendly control panel that simplifies VPS management, especially for Linux-based systems. It offers a modern web interface and can handle various types of websites, making the hosting process accessible and efficient. With CloudPanel, you can focus on developing and creating content for your websites without getting bogged down in the technical complexities of server administration.
For those who prefer a hassle-free experience, consider our preconfigured web hosting servers that come with the latest version of CloudPanel, automatically deployed in less than 5 minutes!
Leave a Reply